1. Installation
SonataAdminBundle can be installed at any moment during a project’s lifecycle.
1.1. Download the Bundle
composer require sonata-project/admin-bundle
1.2. Download a Storage Bundle
You’ve now downloaded the SonataAdminBundle. While this bundle contains all functionality, it needs storage bundles to be able to communicate with a database. Before using the SonataAdminBundle, you have to download one of these storage bundles. The official storage bundles are:
SonataDoctrineORMAdminBundle (integrates the Doctrine ORM);
SonataDoctrineMongoDBAdminBundle (integrates the Doctrine MongoDB ODM);
You can download them in the same way as the SonataAdminBundle. Please, choose one and follow its installation instructions before proceeding.
Note
Don’t know which to choose? Most new users prefer SonataDoctrineORMAdmin, to interact with traditional relational databases (MySQL, PostgreSQL, etc).
1.3. Enable the Bundle
Then, enable the bundle and the bundles it relies on by adding the following
line in bundles.php file of your project:
// config/bundles.php

return [
    // ...
    Symfony\Bundle\SecurityBundle\SecurityBundle::class => ['all' => true],
    Sonata\BlockBundle\SonataBlockBundle::class => ['all' => true],
    Knp\Bundle\MenuBundle\KnpMenuBundle::class => ['all' => true],
    Sonata\AdminBundle\SonataAdminBundle::class => ['all' => true],
    Sonata\Doctrine\Bridge\Symfony\SonataDoctrineBundle::class => ['all' => true],
    Sonata\Form\Bridge\Symfony\SonataFormBundle::class => ['all' => true],
    Sonata\Twig\Bridge\Symfony\SonataTwigBundle::class => ['all' => true],
    Symfony\UX\StimulusBundle\StimulusBundle::class => ['all' => true],
];
1.4. Configure the Installed Bundles
Now all needed bundles are downloaded and registered, you have to add some configuration. The admin interface is using SonataBlockBundle to put everything in blocks. You have to tell the block bundle about the existence of the admin block:
# config/packages/sonata_admin.yaml

sonata_block:
    blocks:
        # enable the SonataAdminBundle block
        sonata.admin.block.admin_list:
            contexts: [admin]
Note
Don’t worry too much if, at this point, you don’t yet understand fully what a block is. The SonataBlockBundle is a useful tool, but it’s not vital that you understand it in order to use the admin bundle.
1.5. Enable the “translator” service
The translator service is required by SonataAdmin to display all labels properly. For more information: https://symfony.com/doc/5.4/translation.html#configuration
# config/packages/framework.yaml

framework:
    translator: { fallbacks: ['%locale%'] }
1.6. Define routes
The bundles are now registered and configured correctly. To be able to access SonataAdminBundle’s pages, the Symfony router needs to know the routes provided by the SonataAdminBundle. You can do this by adding its routes to your application’s routing file:
# config/routes/sonata_admin.yaml

admin_area:
    resource: '@SonataAdminBundle/Resources/config/routing/sonata_admin.xml'
    prefix: /admin

_sonata_admin:
    resource: .
    type: sonata_admin
    prefix: /admin
Note
If you’re using XML or PHP to specify your application’s configuration, the above routing configuration must be placed in routing.xml or routing.php according to your format (i.e. XML or PHP).
Note
For those curious about the resource: . setting: it is unusual syntax but used
because Symfony requires a resource to be defined (which points to a real file).
Once this validation passes Sonata’s AdminPoolLoader is in charge of processing
this route and it ignores the resource setting.
At this point you can already access the (empty) admin dashboard by visiting the URL:
http://yoursite.local/admin/dashboard.
1.7. Preparing your Environment
As with all bundles you install, it’s a good practice to clear the cache and install the assets:
bin/console cache:clear
bin/console assets:install
1.8. The Admin Interface
You’ve finished the installation process, congratulations. If you fire up the server, you can now visit the admin page on http://localhost:8000/admin
Note
This tutorial assumes you are using the build-in server using the
bin/console server:start (or server:run) command.
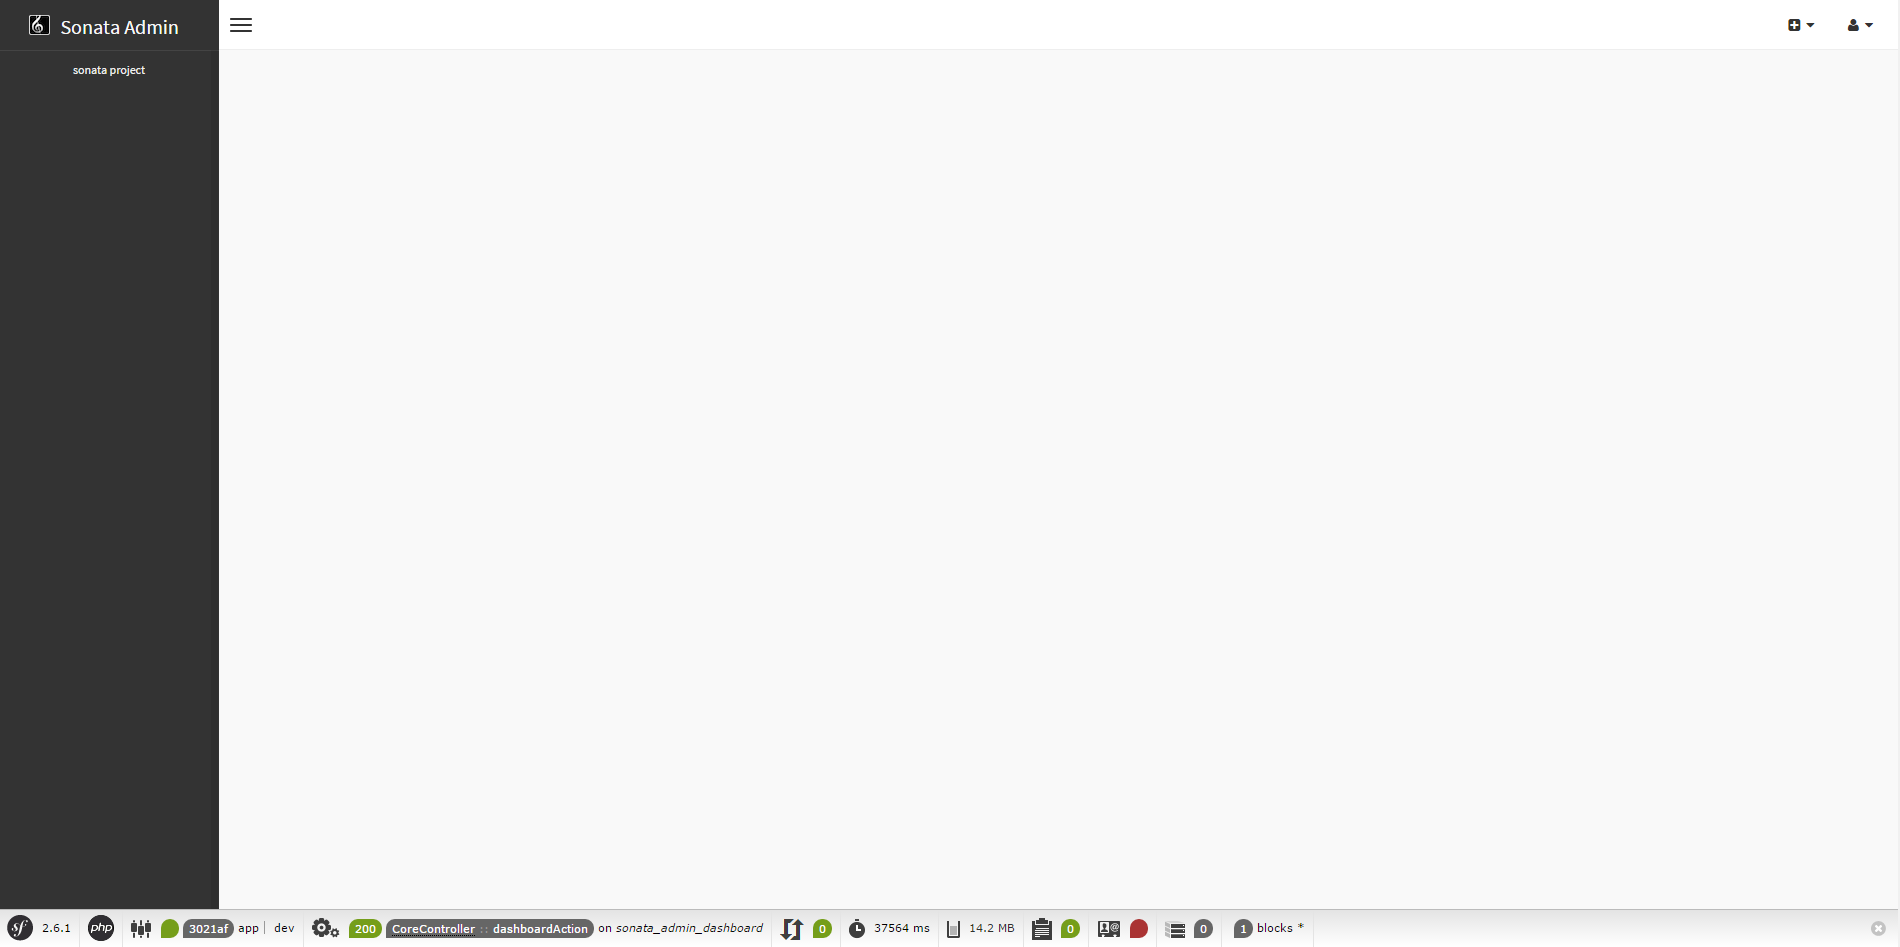
As you can see, the admin panel is very empty. This is because no bundle has provided admin functionality for the admin bundle yet. Fortunately, you’ll learn how to do this in the next chapter.