2. Creating an Admin
You’ve been able to get the admin interface working in the previous chapter. In this tutorial, you’ll learn how to tell SonataAdmin how an admin can manage your models.
2.1. Step 0: Create a Model
For the rest of the tutorial, you’ll need some sort of model. In this tutorial,
BlogPost and Category will be used:
// src/Entity/BlogPost.php

namespace App\Entity;

use Doctrine\DBAL\Types\Types;
use Doctrine\ORM\Mapping as ORM;

class BlogPost
{
    // ...

    #[ORM\Column(type: Types::STRING)]
    private ?string $title = null;

    #[ORM\Column(type: Types::TEXT)]
    private ?string $body = null;

    #[ORM\Column(type: Types::BOOLEAN)]
    private bool $draft = false;

    #[ORM\ManyToOne(targetEntity: Category::class, inversedBy: 'blogPosts')]
    private ?Category $category = null;
}
// src/Entity/Category.php

namespace App\Entity;

use Doctrine\Common\Collections\ArrayCollection;
use Doctrine\Common\Collections\Collection;
use Doctrine\DBAL\Types\Types;
use Doctrine\ORM\Mapping as ORM;

class Category
{
    // ...

    #[ORM\Column(type: Types::STRING)]
    private ?string $name = null;

    #[ORM\OneToMany(targetEntity: BlogPost::class, mappedBy: 'category')]
    private Collection $blogPosts;

    public function __construct()
    {
        $this->blogPosts = new ArrayCollection();
    }

    public function getBlogPosts(): Collection
    {
        return $this->blogPosts;
    }
}
After this, create the schema for these entities:
bin/console doctrine:schema:create
Note
This article assumes you have basic knowledge of the Doctrine2 ORM and you’ve set up a database correctly. You can learn more on Doctrine entities in the Databases and the Doctrine ORM chapter.
2.2. Step 1: Create an Admin Class
SonataAdminBundle helps you manage your data using a graphical interface that will let you create, update or search your model instances. The bundle relies on Admin classes to know which models will be managed and what these actions will look like.
An Admin class decides which fields to show on a listing, which fields are used to find entries and what the create form will look like. Each model will have its own Admin class.
Knowing this, let’s create an Admin class for the Category entity. The
easiest way to do this is by extending Sonata\AdminBundle\Admin\AbstractAdmin:
// src/Admin/CategoryAdmin.php

namespace App\Admin;

use Sonata\AdminBundle\Admin\AbstractAdmin;
use Sonata\AdminBundle\Datagrid\DatagridMapper;
use Sonata\AdminBundle\Datagrid\ListMapper;
use Sonata\AdminBundle\Form\FormMapper;
use Sonata\AdminBundle\Show\ShowMapper;
use Symfony\Component\Form\Extension\Core\Type\TextType;

final class CategoryAdmin extends AbstractAdmin
{
    protected function configureFormFields(FormMapper $form): void
    {
        $form->add('name', TextType::class);
    }

    protected function configureDatagridFilters(DatagridMapper $datagrid): void
    {
        $datagrid->add('name');
    }

    protected function configureListFields(ListMapper $list): void
    {
        $list->addIdentifier('name');
    }

    protected function configureShowFields(ShowMapper $show): void
    {
        $show->add('name');
    }
}
So, what does this code do?
configureFormFields(): This method configures which fields are displayed on the edit and create actions. The
FormMapperbehaves similar to theFormBuilderof the Symfony Form component;configureDatagridFilters(): This method configures the filters, used to filter and sort the list of models;
configureListFields(): This method configures which fields are shown when all models are listed (the
addIdentifier()method means that this field will link to the show/edit page of this particular model);configureShowFields(): This method configures which fields are displayed on the show action.
This is the most basic example of the Admin class. You can configure a lot more with the Admin class. This will be covered by other, more advanced, articles.
2.3. Step 2: Register the Admin class
You’ve now created an Admin class, but there is currently no way for the
SonataAdminBundle to know that this Admin class exists. To tell the
SonataAdminBundle of the existence of this Admin class, you have to create a
service and tag it with the sonata.admin tag:
# config/services.yaml

services:
    # ...
    admin.category:
        class: App\Admin\CategoryAdmin
        tags:
            - { name: sonata.admin, model_class: App\Entity\Category, manager_type: orm, label: Category }
Tag option |
Description |
|---|---|
name |
Service tag’s name |
model_class |
The entity class e.g: |
manager_type |
Manager type ( |
label |
Label, e.g Category |
group ( |
The admins group, it will be used to group in menu on the left side, e.g |
controller ( |
In case you want to use a custom controller, pass the class name. |
The constructor of the base Admin class has many arguments. SonataAdminBundle provides a compiler pass which takes care of configuring it correctly for you. You can often tweak things using tag attributes. The code shown here is the shortest code needed to get it working.
2.4. Step 3: Register SonataAdmin custom Routes
SonataAdminBundle generates routes for the Admin classes on the fly. To load these routes, you have to make sure the routing loader of the SonataAdminBundle is executed:
# config/routes/sonata_admin.yaml

# ...
_sonata_admin:
    resource: .
    type: sonata_admin
    prefix: /admin
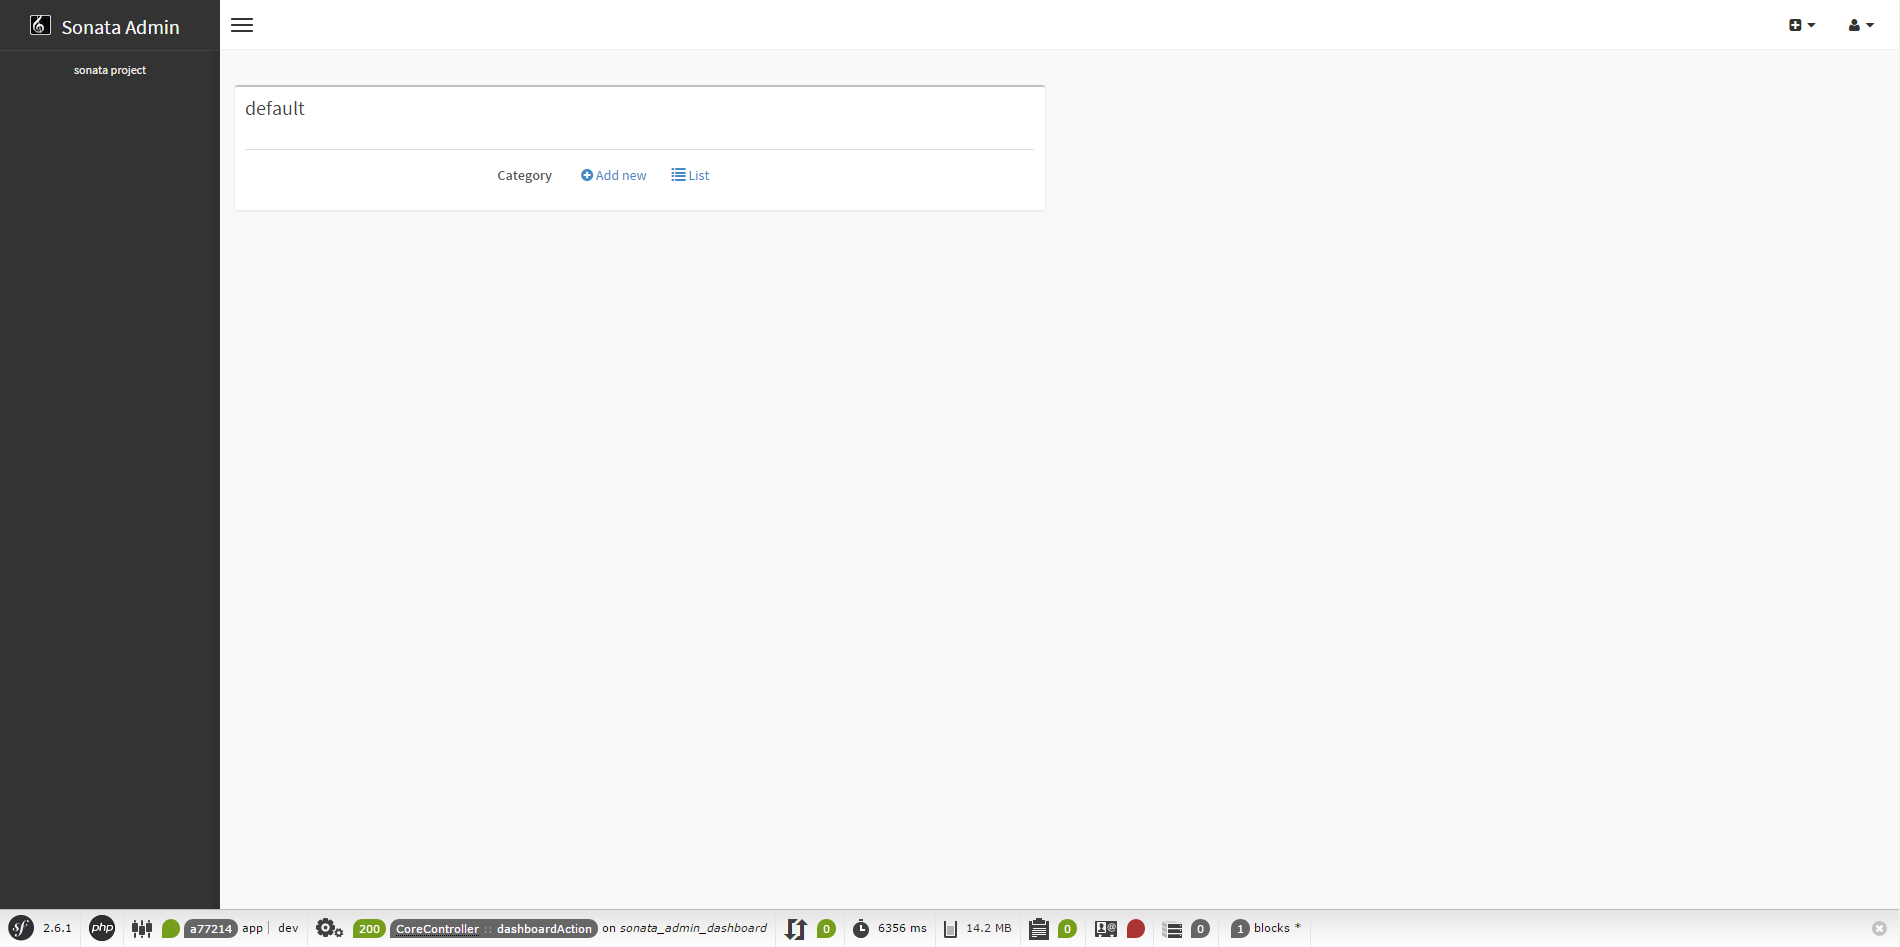
2.5. View the Category Admin Interface
Now you’ve created the admin class for your category, you probably want to know how this looks like in the admin interface. Well, let’s find out by going to http://localhost:8000/admin
Feel free to play around and add some categories, like “Symfony” and “Sonata
Project”. In the next chapters, you’ll create an admin for the BlogPost
entity and learn more about this class.
Note
If you’re not seeing the nice labels, but instead something like “link_add”, you should make sure that you’ve enabled the translator.
In the next chapter, you’re going to look at the form view.